How To Shoot Stunning Night Photos With Your Smartphone Camera
Capturing beautiful evening cityscapes or cozy bonfire gatherings often leads to blurry, grainy results that simply do not match what you see with your own eyes. Many people struggle to shoot stunning night photos with your smartphone camera, but it is entirely possible with the right approach and a few clever techniques. You do not need a bulky DSLR to get professional-looking low-light images when you already carry a powerful lens in your pocket.
By understanding how light behaves and how your device processes data in dark environments, you can elevate your photography game significantly. This guide walks you through essential adjustments and creative strategies to master nighttime scenes. Get ready to turn those dark, challenging moments into vibrant, sharp, and memorable visual stories.
Mastering Your Phone's Night Mode Capabilities
Most modern devices now come equipped with a dedicated Night Mode that automatically adjusts settings to capture more light. When activated, the camera takes multiple frames at different exposure levels and merges them into a single, clearer image. Relying on this feature is often the best first step for beginners looking to improve their results instantly.
This computational process is incredibly impressive, yet it requires patience because it usually takes a few seconds to process the final file. Avoiding sudden movements while the phone is capturing these frames is essential for the cleanest output possible. Always wait for the progress bar to finish before lowering your phone, as premature movement can ruin the composite.
Why Stability Is Your Best Friend
Stability is perhaps the single most important factor when you want to shoot stunning night photos with your smartphone camera. Even the slightest movement during a long exposure will lead to blurry images. Using a tripod is the ideal solution for keeping your device perfectly still, especially when light levels are extremely low.
- Use a lightweight, portable tripod designed for smartphones.
- If you do not have a tripod, prop your phone against a solid object.
- Hold your phone with both hands tucked close to your body to minimize shaking.
- Use a self-timer to ensure the phone does not shake when you press the shutter.

Diving Deeper With Manual Camera Controls
While automatic modes are helpful, manual settings provide complete control over how your final image looks. Adjusting the ISO, or sensitivity to light, can make a huge difference, but keep it low to avoid introducing digital noise or grain. Alternatively, tweaking the shutter speed allows more light to hit the sensor, which is perfect for stationary scenes.
If your native camera app does not support manual controls, consider downloading a third-party application that does. This unlocks capabilities like raw file capturing, which allows for much higher-quality editing later. Understanding these three pillars—ISO, shutter speed, and focus—is fundamental to mastering low-light photography.
Leveraging Existing Light Sources
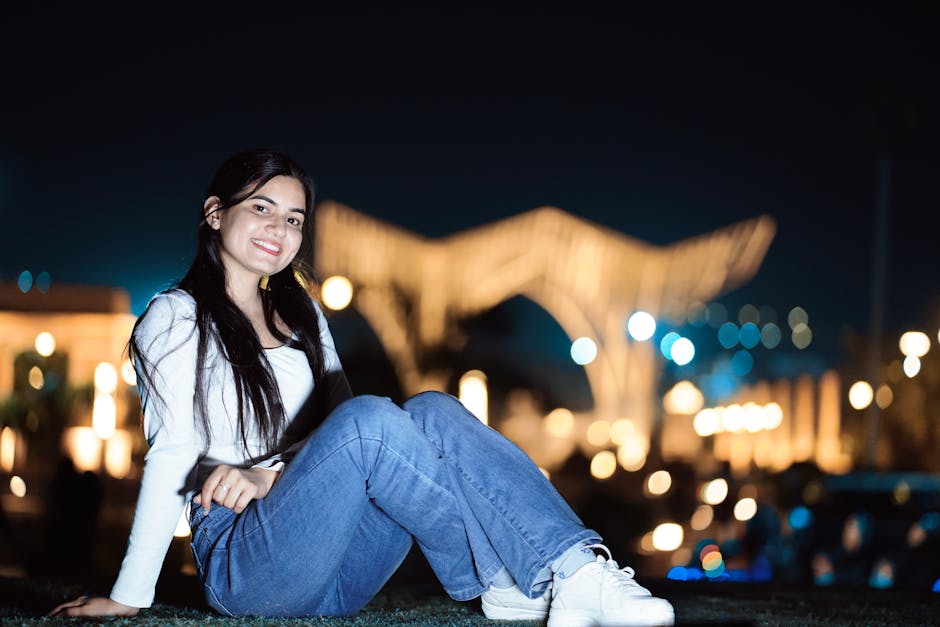
Lighting is everything in photography, especially when shooting in the dark. Instead of relying on your phone's built-in flash, which often produces harsh and unnatural results, look for existing light sources. Streetlights, neon signs, and window displays can act as dramatic lighting that adds depth and character to your subject.
Positioning your subject near these light sources will help your camera focus more accurately and prevent grainy shadows. If the light is too intense, try adjusting the exposure manually within your camera app by tapping the screen and sliding the brightness bar down. Using available light creatively often results in more atmospheric and professional-looking images.
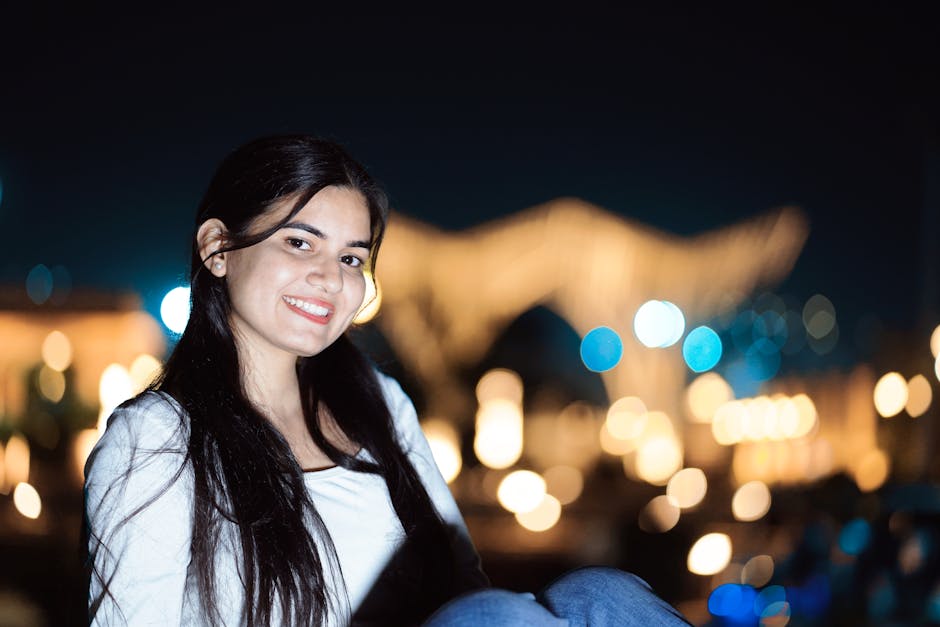
Crafting Intentional Compositions at Night
Composition becomes even more crucial when light is scarce because you want to guide the viewer’s eye effectively. Use leading lines created by streetlights or pathways to draw focus into the frame. Do not be afraid of empty space, as it can often create a moody and powerful effect in your nocturnal images.
Experiment with different angles, such as getting very low to the ground to capture reflections on wet pavement. Keeping the frame simple and focusing on one strong subject or light element is often better than trying to capture a complex, dimly lit scene. Thoughtful framing will always beat technical perfection when it comes to compelling photography.
Polishing Your Images Through Post-Processing
Taking the shot is only the first half of the process, as editing can elevate a good image to a great one. Use dedicated apps to adjust exposure, contrast, and shadows to bring out hidden details without blowing out the highlights. Focusing on subtle adjustments ensures your photos retain a natural, realistic appearance while fixing any technical shortcomings.
Reducing noise or grain is a critical step in post-processing for night shots, but do not overdo it, as it can make the image look soft. Adding a slight touch of warmth or adjusting the white balance can also help make nighttime shots feel more inviting and less cold. Editing is where you bring your personal artistic vision to life.
Essential Tools for Night Photography
Equipping yourself with the right accessories can drastically improve your nighttime experience. Beyond a sturdy tripod, a small, portable LED panel can provide a gentle, adjustable fill light for closer subjects. These tools are often inexpensive and highly effective for controlling the lighting environment on the go.
Keeping a microfiber cloth in your pocket is also vital, as lens smudges cause ugly light flares around streetlights. Clean your lens frequently, especially when shooting near bright point lights, to ensure your images are crisp. Having these few tools handy ensures you are always prepared to capture high-quality images whenever inspiration strikes.