How To Use Manual Mode On Your Smartphone Camera Effectively
Unlocking Your Creative Potential
You have probably noticed that little 'Pro' or 'Manual' icon sitting quietly in your camera app, often ignored in favor of the default point-and-shoot mode. While your phone is excellent at guessing what you want, it does not always get it right, especially in challenging lighting or dynamic situations. Learning how to use manual mode on your smartphone camera is the single fastest way to take your photography from decent snapshots to stunning, deliberate images that showcase your unique vision.
Stepping out of the automated shadow might feel intimidating at first, but it is surprisingly intuitive once you understand the basic pillars of exposure. By taking control of a few simple settings, you stop being just an operator and start being the artist. You will find that you can suddenly capture scenes that were previously washed out, blurry, or incorrectly colored.
Why You Should Try Manual Mode
The primary benefit of switching to manual mode is consistency. Your phone’s automatic settings are constantly recalculating based on the brightness and movement in the frame, which can lead to unpredictable results. When you lock in your settings, you ensure that every shot looks exactly the way you intend, regardless of changes in the environment.
Manual mode also unlocks creative possibilities that automation simply cannot handle. Whether you want to blur the movement of a busy street, capture crisp details in dim light, or create high-contrast artistic shots, manual controls give you the precision you need. It turns your smartphone into a versatile tool capable of producing images that stand out in a sea of basic uploads.
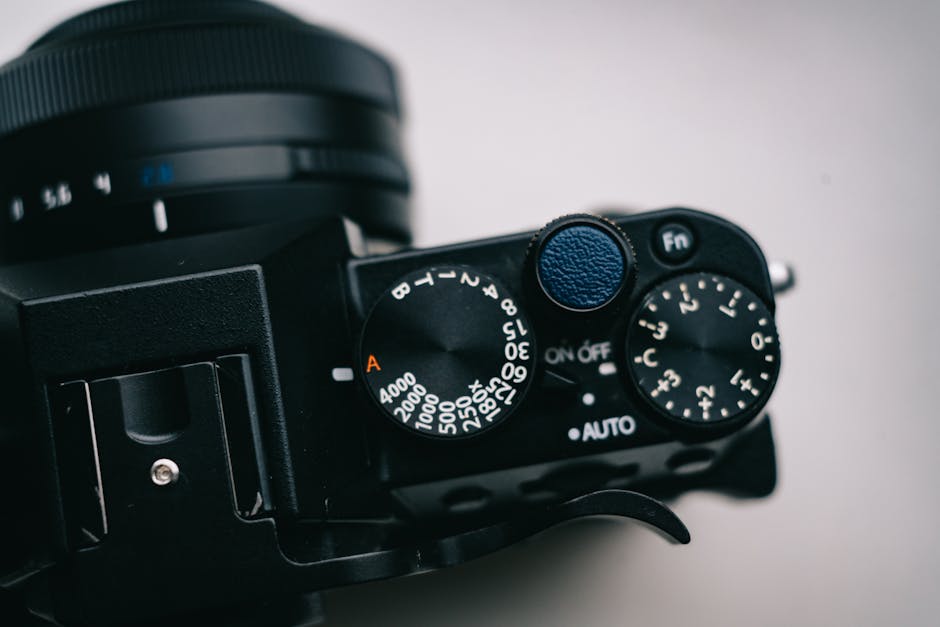
Understanding Your Camera's Core Settings
To master manual photography, you need to understand three main variables: ISO, shutter speed, and white balance. These settings dictate how your camera processes light and color, and they are directly linked to one another. Think of them as a balancing act where changing one usually requires adjusting another to maintain the perfect exposure.
Most modern smartphones will present these as sliders on your screen. You do not need to memorize complex formulas to start using them effectively. Simply experimenting with each setting while watching the live preview on your phone will help you understand how they impact your final image in real-time.
How to Use Manual Mode on Your Smartphone Camera Effectively
The first step is to open your camera app and locate the 'Manual' or 'Pro' setting. Once activated, you will see a series of numbers and sliders that might look overwhelming, but they are just your creative tools. Start by tapping on your subject to lock focus, then begin adjusting the exposure slider to see how the brightness changes across the frame.
Learning how to use manual mode on your smartphone camera effectively means understanding when to prioritize certain settings. For instance, if you are shooting a fast-moving subject, your priority should be a fast shutter speed. If you are shooting in a dark room, your priority might be finding the best balance between ISO and shutter speed to minimize noise while keeping the image bright.

Mastering ISO for Low-Light Scenes
ISO determines how sensitive your camera sensor is to incoming light. A lower ISO, such as 50 or 100, is perfect for bright, daylight scenes because it produces the cleanest, sharpest images with the least amount of digital noise. As you move into dimmer environments, you might need to increase your ISO to brighten the image.
However, be cautious, because pushing your ISO too high will introduce grain and reduce overall image quality. It is always best to keep your ISO as low as possible and compensate by using a tripod or finding additional light sources. By finding the lowest ISO that still provides a well-exposed shot, you ensure your images remain professional and clear.
Using Shutter Speed to Control Motion
Shutter speed is the length of time your camera sensor is exposed to light, measured in fractions of a second. A fast shutter speed, like 1/1000th of a second, is essential for freezing motion, such as a bird in flight or a runner mid-stride. It is your best friend when you want to ensure your action shots are perfectly crisp.
Conversely, a slow shutter speed, like 1/10th or 1 second, allows more light into the sensor and creates motion blur. This technique is wonderful for adding a sense of movement to waterfalls, car lights, or even a flowing river. Just remember that at slower speeds, even the slightest movement from your hands will make the whole image blurry, so always use a tripod for those shots.

Fine-Tuning Colors with White Balance
White balance is often overlooked, but it is crucial for ensuring the colors in your photo look natural. Your phone often tries to guess the lighting temperature, but it can be fooled by neon lights, warm indoor bulbs, or cool shade. When the white balance is incorrect, your whites might appear too blue, or your skin tones might look strangely orange.
By manually adjusting the white balance, you can fix these color casts. Look for the setting labeled 'WB' or a temperature scale. You can drag the slider towards the blue side to cool down an overly orange scene or towards the yellow side to warm up a shot that looks too cold, ensuring your colors are true to life.
Quick Tips for Better Results
Improving your photography is a journey, and manual mode is your most valuable tool for growth. Here are some essential tips to keep in mind as you practice and refine your skills in the field:
- Focus manually to ensure your subject is sharp exactly where you want it rather than letting the phone decide.
- Use a tripod or stabilize your phone for long exposures to avoid blur caused by hand shake.
- Check the histogram if your camera app provides one, which helps you avoid overexposed or underexposed areas in your frame.
- Shoot in RAW format if your device supports it, as it captures much more data for high-quality editing later.
- Practice constantly in different lighting conditions to learn how each setting interacts with your specific camera hardware.