How To Take Long Exposure Photos On Your Smartphone Camera
The Magic Behind Long Exposure Photography
Long exposure photography has always been the hallmark of professional DSLR users, but that dynamic has shifted significantly. You might be wondering how to take long exposure photos on your smartphone camera without needing specialized, bulky gear. Modern phones possess sophisticated sensors and manual controls that make capturing smooth motion blur and brilliant light trails incredibly accessible to everyone.
At its core, long exposure is simply the practice of keeping the camera shutter open for an extended period, allowing more light to hit the sensor. This technique turns rushing water into a silky mist and transforms busy city streets into rivers of glowing light. By mastering this method, you can elevate your mobile photography from simple snapshots to artistic masterpieces.
Why Stability Is Everything for Sharp Images
The most important factor when learning how to take long exposure photos on your smartphone camera is eliminating camera shake. Because the shutter stays open for seconds at a time, even the slightest movement can turn your intended artistic blur into a messy, unusable image. You must ensure your device is completely still for the duration of the shot.
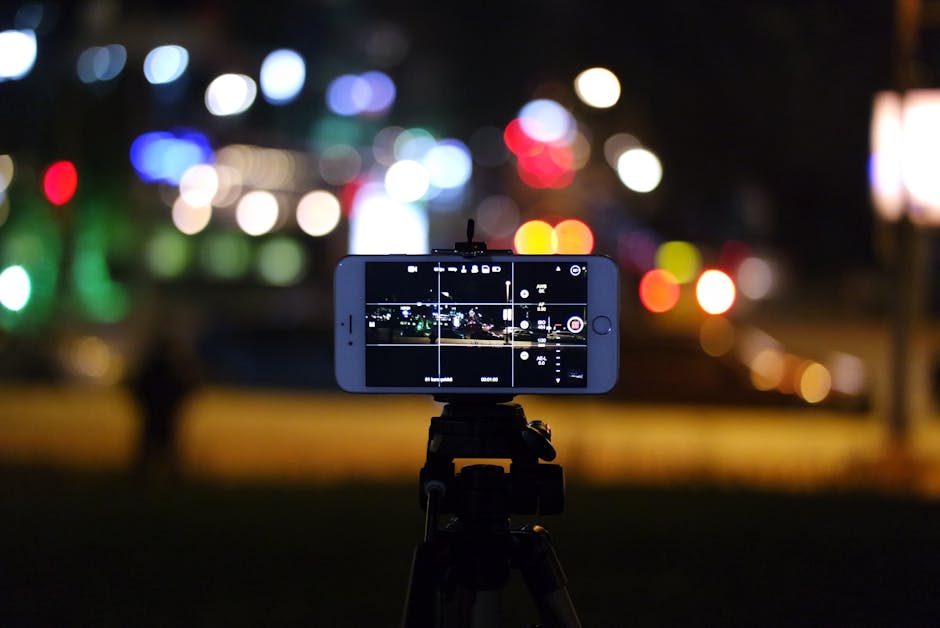
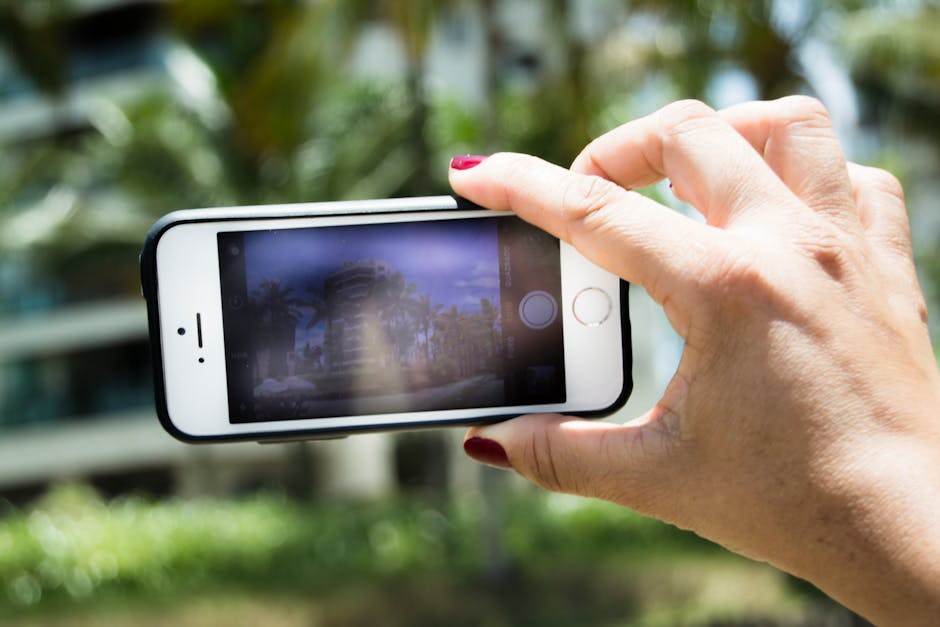
While a dedicated phone tripod is the ideal solution, you can improvise by resting your phone against a solid object like a fence, a wall, or a stable stack of books. If you are shooting handheld, try leaning against a sturdy surface or tucking your elbows tightly into your ribs to minimize sway. Combining a stable base with a self-timer is often the winning strategy for achieving sharp, professional results.
How to Take Long Exposure Photos on Your Smartphone Camera Using Manual Mode
Many flagship smartphones now include a Pro or Manual mode in their native camera apps that grants direct control over key settings. To begin, you need to lower your ISO to the lowest possible setting, usually ISO 50 or 100, to prevent noise from ruining the long exposure. Then, adjust your shutter speed, often represented by the letter S or TV, to a longer duration, such as two or more seconds.
Once you have set your shutter speed, you will likely need to adjust the focus manually to ensure your subject remains sharp throughout the exposure. Because the camera is taking in so much light, it is best to shoot during the golden hour or at twilight when the ambient light is lower. This prevents your image from becoming completely overexposed and turning out entirely white.
Leveraging Built-in Smartphone Camera Features
If your native camera app lacks a full manual mode, many modern smartphones provide built-in computational photography features designed specifically for long exposures. Apple’s Live Photos, for example, can be converted into a long exposure effect within the gallery app by selecting the image and tapping the loop effect. This is an incredibly convenient way to achieve the look without messing with complicated settings.
Other manufacturers include dedicated modes such as "Light Trails," "Silky Water," or "Night Exposure" right within their camera software. These intelligent modes analyze the scene, determine the optimal exposure time, and stack multiple images together to simulate the look of a traditional long exposure. Check your camera settings menu to see if these powerful, automated tools are already available to you.
Recommended Third-Party Apps for Total Control
If you find your stock camera app too restrictive, third-party applications can unlock the full potential of your device's sensor. Apps like Adobe Lightroom Mobile, ProCamera, or Halide offer robust manual controls that allow you to dictate shutter speed, ISO, and white balance with precision. These apps are often essential for those serious about learning how to take long exposure photos on your smartphone camera consistently.
When selecting an app, look for features like RAW format support, which gives you more flexibility during post-processing to recover details in shadows or highlights. Some apps also feature built-in light trail modes that simplify the process by automatically stacking frames in real-time. Investing time into learning one of these advanced apps will drastically improve your photographic capabilities.
Creative Applications for Motion Blur
Once you understand the technical requirements, the creative possibilities for your imagery become nearly limitless. Long exposure is perfect for creating surreal landscapes, transforming chaotic environments into serene, dreamlike scenes that stand out on any feed. Consider these common subjects to practice your technique:
- Flowing waterfalls and rushing streams that look soft and ethereal
- Moving traffic at night to capture long, vibrant light trails
- Cloud movement to create a sense of drama in a static landscape
- People moving through a busy space to turn them into ghostly, artistic shapes
Experimenting with these subjects helps you understand how different shutter speeds impact the level of blur in your final shot. For instance, a three-second exposure might be enough for a waterfall, while a ten-second exposure could be needed to turn the entire ocean surface into a smooth, foggy texture.

Best Practices for Consistent Results
Achieving a perfect long exposure shot often requires a bit of trial and error, so do not get discouraged if your first few attempts are not ideal. Always use the self-timer function set to three or five seconds, as this ensures the slight vibration caused by your finger touching the screen has faded before the shutter actually opens. This simple adjustment is often the difference between a blurry photo and a crisp, well-composed one.
Additionally, consider shooting in RAW format whenever possible, as this allows you to adjust the lighting and contrast after the photo is captured. If the scene is too bright, you might struggle to get a long exposure without overexposing the entire image. In these cases, using a small neutral density filter designed for smartphones can help reduce the incoming light, allowing for longer shutter speeds even during the day.