How To Take Macro Photos With Your Standard Smartphone Camera
Getting Started with Tiny Details
You do not need an expensive DSLR camera or specialized lenses to capture the hidden beauty of the miniature world. Learning how to take macro photos with your standard smartphone camera is simpler than you might think, provided you understand a few core principles. With the right techniques and a little bit of patience, you can transform everyday objects like flowers, insects, or even textures into stunning, professional-looking images.
Many people assume that high-quality macro photography is restricted to expensive, heavy equipment. However, the advanced sensor technology in modern phones is surprisingly capable of capturing intricate details when used correctly. By mastering your phone's capabilities and adjusting your shooting environment, you can achieve remarkable results right from your pocket.
Understanding Your Phone Camera Capabilities
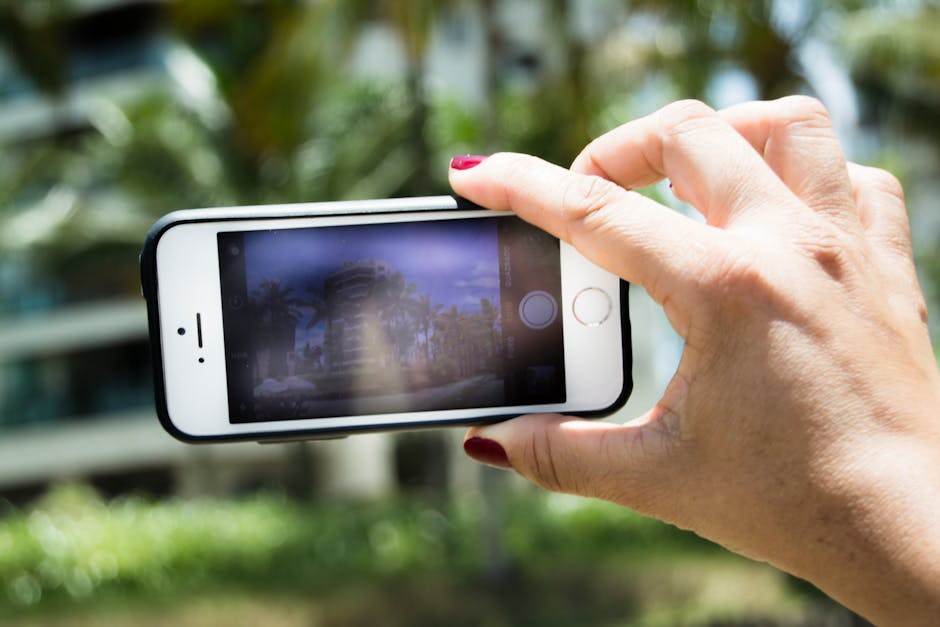
Before you start shooting, you need to recognize the limitations of your hardware. Most smartphone cameras have a minimum focus distance, meaning there is a point where the lens can no longer focus if it gets too close to the subject. If you try to move your phone right up against an object, you will often find that the camera struggles to lock focus, resulting in a blurry, frustrating image.
To overcome this, you should find the sweet spot where your phone is as close as possible to the subject while still maintaining a sharp focus. You can test this by slowly moving your phone toward your subject while tapping the screen to force the camera to refocus. Once you know this distance, you can work within those constraints to compose your frame effectively.
Techniques to Take Macro Photos with Your Standard Smartphone Camera
When you want to take macro photos with your standard smartphone camera, your primary goal is to maximize the detail in a very small area. One of the most effective strategies is to use your camera's zoom feature cautiously, but only if it is an optical zoom. Digital zoom, on the other hand, will often degrade image quality significantly and introduce unwanted noise, which is the enemy of sharp close-ups.
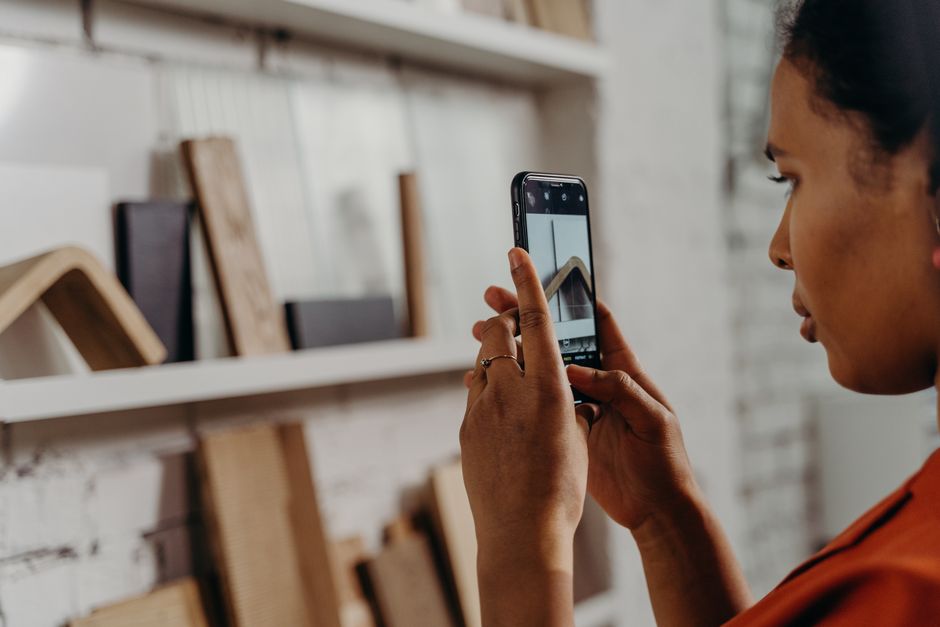
Another powerful trick is to focus manually on your subject. Most native camera apps allow you to tap on the screen to set the focus point, but many also allow you to lock that focus by long-pressing on the area. This prevents the camera from hunting for focus if something moves slightly in the frame, ensuring that your tiny subject remains perfectly sharp.
The Secret to Sharp Close-ups: Stability
When you are shooting at such close range, even the slightest movement from your hands becomes magnified in the final image. This is why stability is the most critical factor in achieving crisp, professional results. A small, portable tripod is a fantastic investment for macro photography, as it allows you to compose your shot and keep the phone completely steady for the duration of the exposure.
If you do not have a tripod, you need to get creative with your surroundings to act as a stabilizer. Resting your elbows on a table or leaning your phone against a sturdy object can make a massive difference in the clarity of your shots. Simply holding your breath for a second before tapping the shutter can also help minimize camera shake and produce cleaner images.
Lighting Tips for Stunning Macro Shots
Macro photography requires a significant amount of light because you are often working with a very small aperture or needing a fast shutter speed to avoid blur. Harsh, direct sunlight can often create blown-out highlights or intense, unappealing shadows that distract from the details of your subject. Instead, aim to shoot in soft, diffused light, such as on an overcast day or in the shade.
You can also easily create your own lighting setup with a few household items to enhance your results. Using a piece of white cardboard or foam board can act as a reflector to bounce light into the shadowy areas of your subject, filling in detail that would otherwise be lost. Alternatively, a thin piece of white cloth can be used as a diffuser to soften harsh artificial light if you are shooting indoors.
Utilizing Affordable Macro Attachments
While you can achieve great results with just your phone, there are affordable tools available that can drastically expand your capabilities. Many companies sell inexpensive, clip-on macro lenses that simply attach over your phone's existing camera lens. These small lenses significantly reduce the minimum focus distance, allowing you to get much closer to your subject and achieve a higher magnification.
When looking for these accessories, keep these points in mind:
- Look for high-quality glass lenses rather than cheap plastic alternatives to avoid distortion.
- Ensure the clip is sturdy and fits your specific phone model to prevent it from shifting.
- Consider a kit that includes both a macro lens and a wide-angle lens for added versatility.
- Check user reviews to ensure the lens does not create heavy vignetting around the corners of your shots.

Post-Processing to Enhance Your Images
The final step in the process is post-processing, which allows you to take your images from good to great. Even a technically perfect shot can benefit from a little bit of color correction, contrast adjustment, or sharpness enhancement. Using apps like Lightroom Mobile or Snapseed, you can bring out the fine textures and colors that your camera captured.
When editing, try to focus on subtle adjustments rather than heavy-handed filters. Increasing the clarity or structure slider slightly can make the details pop, while a subtle adjustment to the exposure and shadows can balance the lighting. Remember, the goal is to enhance the reality of the small world you captured, not to create something that looks unnatural or over-processed.