Smartphone Camera Settings That Improve Your Vlogging Video Quality
The Essential Smartphone Camera Settings for Professional Looking Vlogs
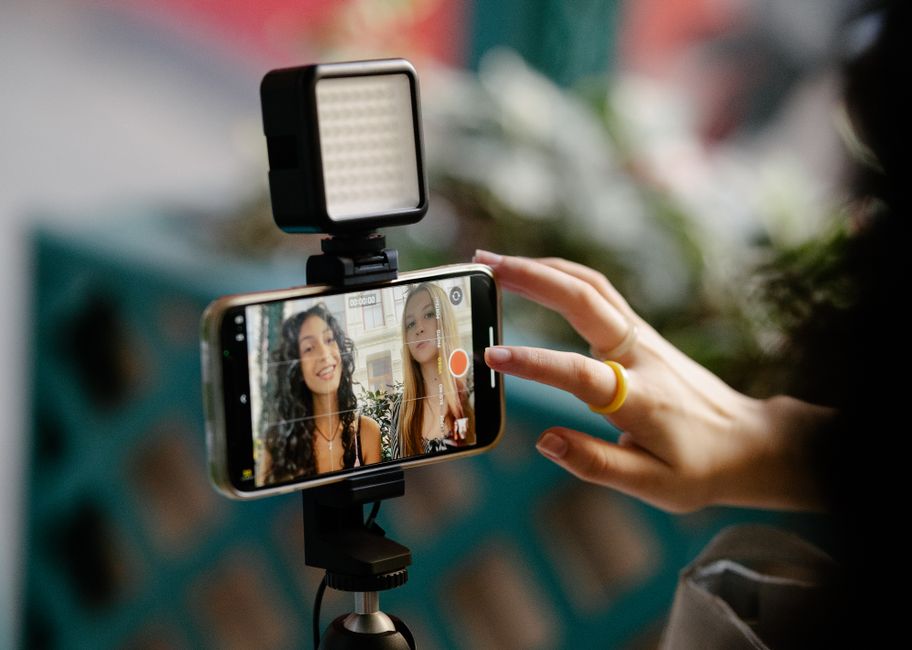
You do not need an expensive mirrorless camera or a cinema rig to produce high-quality vlog content. The device currently in your pocket is a powerful tool capable of capturing stunning footage, provided you know how to use it. Mastering your smartphone camera settings is the most effective way to transition your videos from amateur clips to polished, cinematic stories that keep viewers engaged.
Many creators leave their camera app on automatic mode, which often results in shaky, inconsistent, or poorly lit footage. By taking manual control of how your device processes images, you gain the ability to create a consistent look across all your content. Understanding these adjustments is essential for anyone serious about elevating their production quality without a massive budget.
Optimizing Resolution and Frame Rate
The first step in improving your video is choosing the right resolution and frame rate settings within your camera app. While 4K recording is often the default or a high-end option, it is not always necessary for vlogging and can consume massive amounts of storage. Filming in 1080p is often perfectly adequate for social media platforms and allows for easier editing on mobile devices.
Frame rate is equally important for the "feel" of your video. Shooting at 30 frames per second (fps) is the standard for most vlogs as it looks natural and handles well in various lighting conditions. If you want a more cinematic, slower motion effect for b-roll, switching to 60 fps is a great technique, though it requires more light to maintain exposure quality.

Locking Exposure for Cinematic Consistency
One of the biggest issues with automatic camera modes is that the exposure constantly shifts when you move or when lighting changes in your environment. This creates distracting flickering effects that can immediately ruin the viewer experience. You must learn how to lock your exposure manually to ensure your face remains consistently lit regardless of what is happening in the background.
Most modern smartphones allow you to lock both focus and exposure by long-pressing on the screen within the camera interface. Once you have framed your shot, tap and hold on the area where your face is until you see an "AE/AF Lock" indicator. This simple action tells your phone to maintain that specific brightness level, preventing erratic changes during your walk-and-talk segments.
Correcting White Balance for Natural Colors
Automatic white balance often struggles in mixed lighting scenarios, leading to skin tones that look too yellow, too blue, or just plain unnatural. If you are filming indoors under warm lamps and then move to a window with cool daylight, the camera will constantly try to recalibrate, resulting in jarring color shifts. Setting a manual white balance keeps your footage looking professional and uniform.
Try to find a dedicated "Pro" or "Manual" mode in your camera settings to adjust the color temperature manually. If your native app does not offer this, consider downloading a third-party camera application that provides manual color controls. This adjustment ensures that your skin tones look healthy and true to life in every single shot.
Mastering Stabilization Techniques
Even with advanced electronic image stabilization built into modern smartphones, handheld vlogging can still look jittery if you are not careful. The way you hold your phone has a massive impact on the final footage quality. Holding your phone with both hands, keeping your elbows tucked close to your ribs, and moving with a "ninja walk"—where you land on your heels and roll to your toes—significantly reduces bounce.
If you prefer to move around a lot while talking, consider investing in a smartphone gimbal for perfectly smooth pans and movements. However, if you are strictly handheld, you can also utilize software-based post-production stabilization. Be aware that this often crops into your image, so try to frame your shots slightly wider than usual to account for that loss in resolution.
Leveraging Different Lenses
Most modern smartphones feature multiple lenses, including ultra-wide, wide, and telephoto options. Using the right lens for the right situation drastically improves your composition and professional look. The main wide lens is usually the highest quality and best for general vlogging because it handles light best and provides a natural perspective for talking directly to the camera.
The ultra-wide lens is fantastic for showing context in travel vlogs, but be mindful of the distortion it creates at the edges of the frame. The telephoto lens is excellent for capturing b-roll of distant objects or creating a beautiful, shallow depth-of-field effect for product shots. Experiment with switching between these lenses to add variety and dynamic energy to your final edit.

Pro Tips for Better Video Quality
Beyond the core settings, there are several environmental factors that will further improve your footage. Paying attention to your lighting and audio setup is just as important as your camera configuration. Proper preparation prevents frustration during the editing process.
- Always clean your camera lens before filming, as pocket lint and oils significantly degrade image clarity.
- Face a light source, such as a window, rather than having it behind you to ensure your face is well-lit and not just a silhouette.
- Use an external microphone if possible, as built-in microphones often struggle with wind and background noise.
- Film in landscape mode unless you are specifically creating content for vertical-format platforms like TikTok or Reels.
- Take time to review your footage periodically while filming to ensure your focus and lighting remain exactly where you need them.
Improving your vlogs is a continuous process of learning and experimentation. By taking the time to adjust these smartphone camera settings rather than relying on automatic mode, you will immediately see a jump in the quality of your content. Practice these techniques until they become second nature, allowing you to focus more on your storytelling and less on your technical setup.