How To Create Hyperlapse Videos Using Your Smartphone Camera
Have you ever watched those mesmerizing videos where time seems to speed up as the camera moves fluidly through a bustling city or across a beautiful landscape? That is the magic of a hyperlapse. Learning how to create hyperlapse videos using your smartphone camera is easier than you think, provided you have a little patience and the right approach.
Many beginners are intimidated by the complexity they associate with time-lapse photography, but your device is more than capable. You do not need professional rigs or expensive software to get started. With a few simple steps and a bit of practice, you will capture cinematic footage that looks incredibly polished and professional.
Understanding the Hyperlapse Effect
A hyperlapse is fundamentally different from a standard time-lapse because the camera itself is in motion throughout the process. While a regular time-lapse involves setting a camera on a tripod to record a scene over a long duration, a hyperlapse creates a moving perspective that adds dynamic energy to your shots.
This technique allows you to cover large distances, making time appear as though it is folding in on itself. It gives the viewer a sense of travel and progression that is impossible to achieve with a stationary shot. Mastering this requires focus, consistency, and an understanding of the relationship between movement and time.
Essential Gear for Smooth Shots
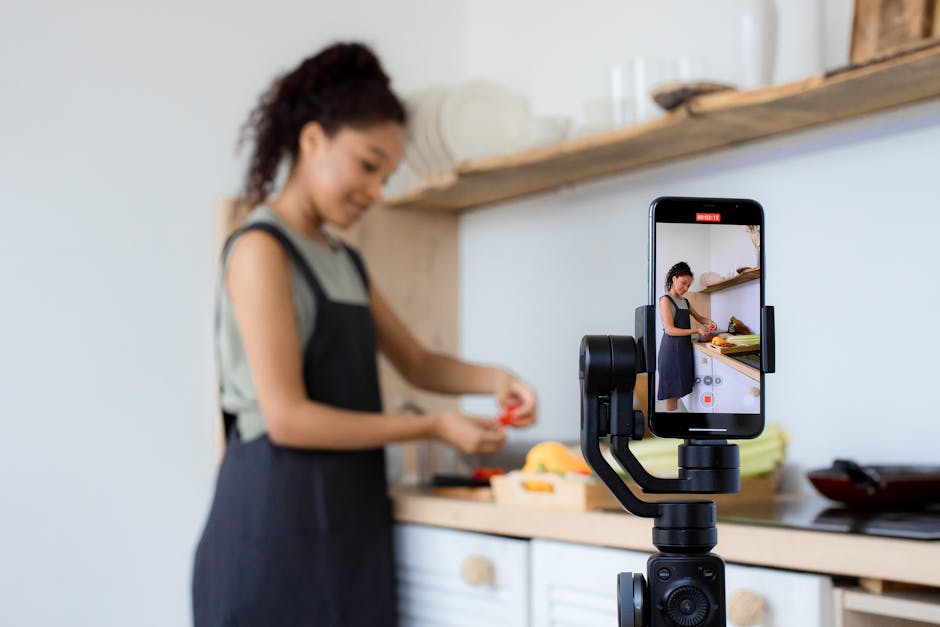
While you can start with just your phone, a few simple accessories will help you avoid jittery footage. A good, sturdy tripod is the most important tool you can have for starting. It allows you to stabilize your phone before you move it to the next location.
If you prefer to move while shooting, a motorized gimbal or a high-quality smartphone stabilizer will significantly improve your results. It will help maintain a smooth horizontal plane while you walk, which is essential for a professional look. Investing in these small tools will save you from frustration when you are editing your final clip.

Setting Up Your Camera
Correct camera settings are vital for achieving the hyperlapse effect you want. Always switch your camera app into manual mode, which allows you to lock the exposure, focus, and white balance before you begin. If these settings remain in automatic mode, your lighting will flicker throughout the video as the camera adjusts, ruining the final result.
Make sure you have plenty of storage space on your device, as you will be taking hundreds, sometimes thousands, of individual photos. A good rule is to set your camera to take a photo every one to three seconds. This frequency captures enough detail to create a smooth, continuous sequence when you combine the images during the post-processing phase.
Tips on How to Create Hyperlapse Videos Using Your Smartphone Camera
Consistency is key to a great hyperlapse. When you are moving, find a fixed point in the scene, such as a streetlight, a building corner, or a distant tree. Try to keep that same point in the exact same spot in your frame for every single photo you take along your path.
If you are shooting while walking, try to step in a straight, rhythmic line. Keeping your feet pointed in the same direction and moving at a steady pace will prevent your video from looking like a shaky, amateur attempt. It takes patience to line up each shot, but the effort is rewarded when you see the final, fluid result.

Choosing the Right Subject
Not every subject is perfect for a hyperlapse. The best subjects are scenes with naturally flowing movement, such as clouds moving over mountains, cars moving through an intersection, or people walking through a crowded square. These moving elements create the contrast necessary to make the hyperlapse feel like it is traveling through time.
Avoid subjects that are static or too chaotic, as they can make the final video feel disorienting rather than impressive. Look for paths or structures that provide natural lines, such as hallways, sidewalks, or bridges. These structures provide visual anchors for the viewer, guiding their eyes through the frame during the motion.
Editing Your Footage
Once you have finished shooting, you need to combine all those individual photos into a single video file. There are several apps designed specifically for this purpose that can automatically align your photos and export a smooth video. These tools use image stabilization algorithms to correct any minor mistakes in your alignment during the shooting process.
After your video is generated, you can refine it further in your favorite video editing software. This is the stage where you can add background music, speed up or slow down specific sections, or apply color grading to enhance the mood. Editing brings everything together and allows you to craft a cohesive story from your collection of photos.
Pro Tips for Success
- Keep your phone battery fully charged or bring a power bank, as taking hundreds of photos drains power quickly.
- Use a grid overlay on your camera screen to help you keep your subject consistently placed in the frame.
- Choose a time of day with consistent, soft light, such as early morning or late afternoon, to avoid harsh shadows.
- Start with a short distance to get the feel of the rhythm and timing before attempting longer, more complex paths.
- Always practice safety while shooting, especially when walking in busy areas or near traffic.
Getting comfortable with these techniques will allow you to capture incredible, professional-looking footage with just the device in your pocket. The beauty of this process is that it forces you to look at your surroundings from a new, creative perspective. Keep experimenting with different subjects, paths, and speeds to find your own unique style.
Remember that the first few attempts may not be perfect, and that is completely normal. Even experienced photographers have to refine their methods and adjust their approach after reviewing their footage. Stay curious, keep practicing your timing, and enjoy the process of turning everyday scenes into something truly extraordinary.