How To Use Filters To Enhance Your Smartphone Photography Style
The Power of Filters in Modern Photography
Everyone has a camera in their pocket, but making your images stand out is a constant challenge. Learning how to use filters to enhance your smartphone photography style is one of the quickest ways to elevate your visual storytelling. Instead of relying solely on raw, unedited shots, you can use digital tools to build a unique aesthetic that feels personal and professional.
Photography is about more than just capturing what is in front of you; it is about conveying a specific feeling. Digital filters act as the modern-day equivalent of the darkroom, providing endless possibilities for transformation. By understanding how to manipulate these tools, you take control of your creative process.
Understanding the Basics of Smartphone Filters
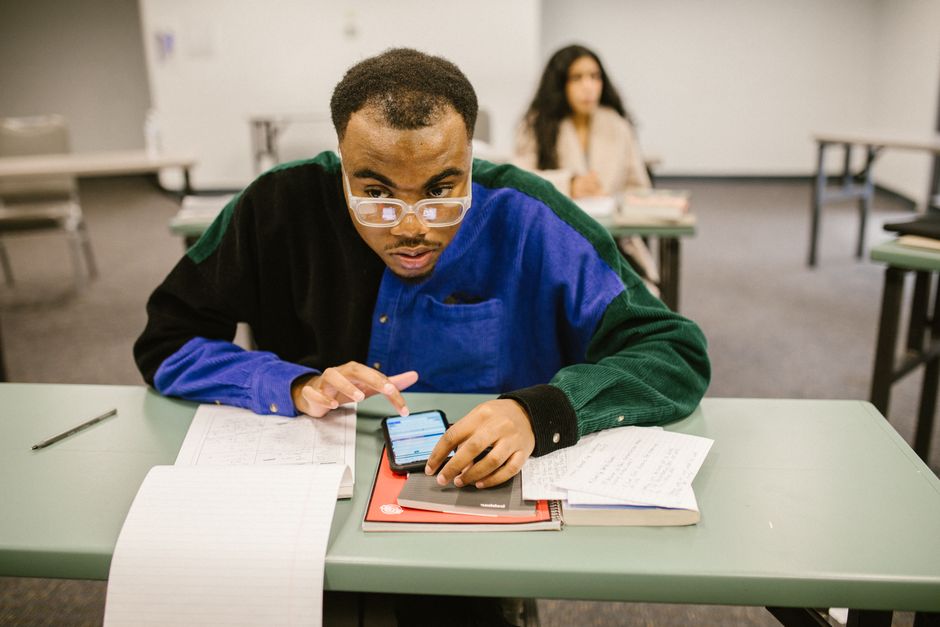
Before diving into complex editing apps, start by exploring the built-in filters on your phone. Most devices offer a range of options that can subtly change color temperatures, contrast, or saturation levels. Understanding what these sliders actually do is the first step toward moving beyond basic, one-tap presets.
Try applying a few different filters to the same image to see how they impact light and shadow. You will quickly notice how a warm filter might make a sunset feel more nostalgic, while a cooler option emphasizes clean, modern lines. Experimentation is the most effective way to learn how to manipulate these settings to your advantage.
Do not be afraid to mix and match different effects. Often, the best results come from applying a filter at a lower intensity and then manually adjusting the contrast or brightness. This layered approach ensures that the edit feels like a natural part of the photograph rather than an added layer.
Developing Your Unique Smartphone Photography Style
Defining your personal smartphone photography style is about consistency and intentionality rather than just randomly applying effects. Think about the emotions you want your photos to evoke, whether that is vibrant, high-energy excitement or a quiet, muted minimalism. Your chosen aesthetic eventually becomes a part of how followers recognize your work instantly.
Once you settle on a specific color palette or tone, try to stick with it for your recent projects. You might lean toward high-contrast monochrome images or soft, airy pastel tones. This dedication to a specific theme helps transform scattered snapshots into a cohesive portfolio of work.
Take the time to analyze photographers whose work you admire. Identify what draws you to their images, such as their use of light, color balance, or specific editing techniques. You can then adapt those concepts to build an aesthetic that feels entirely your own.
Using Filters to Set the Mood
Filters are incredibly effective tools for adjusting the atmosphere of any scene you capture. If you are shooting an indoor setting with harsh overhead lights, a gentle warming filter can make the space feel much more inviting and comfortable. Similarly, increasing the grain or reducing saturation can lend a cinematic, film-like quality to your street photography.
Think about the story behind the image before choosing an effect. A vibrant, high-saturation filter might work perfectly for a bustling market scene, but it could distract from the peaceful nature of a landscape. Always consider how the filter interacts with the original lighting conditions of your subject.
Remember that the goal of using a filter is to complement the subject matter, not to overwhelm it. Sometimes, the most powerful filter is one that simply enhances the natural colors that were already present in the scene. Use your judgment to balance the effect with the reality of the shot.

The Art of Subtle Adjustments
The biggest mistake many beginners make is applying filters at full intensity, which often results in artificial-looking, over-processed images. Instead, use the intensity slider to dial back the effect until it feels natural and balanced. The best edits are often the ones that are barely noticeable to the casual viewer.
Focus on small, incremental tweaks to contrast, brightness, and warmth rather than relying on one-tap solutions. These subtle changes allow you to fix minor exposure issues while still keeping the image looking authentic and professional. A delicate touch is almost always better than an overwhelming, heavy-handed edit.
Take a break from your screen during the editing process to get a fresh perspective. After a few minutes, look at the image again to determine if the changes still look balanced and natural. Your eyes can often become accustomed to intense colors or contrast if you stare at them for too long.
Building Consistency Across Your Feed
If you are building a feed on social media, having a consistent look is vital for engagement. Your audience will begin to anticipate the visual style of your content, which helps build trust and recognition. You can achieve this by creating or purchasing presets that act as a foundation for every image you edit.
To maintain a cohesive feed, consider using these foundational settings as a starting point:
- Keep the white balance consistent across your shots to avoid clashing color temperatures.
- Limit the number of different color profiles you use to three or four primary, go-to options.
- Apply similar levels of sharpness and grain to create a unified texture across your entire gallery.
- Adjust exposure levels based on your intended brightness rather than just the default camera setting.
By following these steps, you create a recognizable brand identity through your photography. This level of intentionality makes your feed look deliberate rather than accidental, which often draws in more viewers. Consistency is a hallmark of professional-looking content, regardless of the device used to capture it.
Advanced Techniques for Custom Filters
Once you are comfortable with basic adjustments, start layering your edits to create something entirely unique. Most powerful photo editing apps allow you to stack multiple filters, adjust opacity levels, and then make manual adjustments on top. This process gives you total control over how your final image looks.
Do not be afraid to create your own custom presets based on these combinations. By saving these settings, you save significant time on future edits while ensuring your images always match your established visual look. The goal is to move from simply choosing a filter to actively creating your own visual signature.
Mastering digital editing is a journey of constant refinement and adaptation. Do not feel locked into a single style forever; photography is an evolving medium. As your skills grow, your aesthetic will naturally shift and improve to reflect your changing interests and expanding technical capabilities.